Preparation 0700
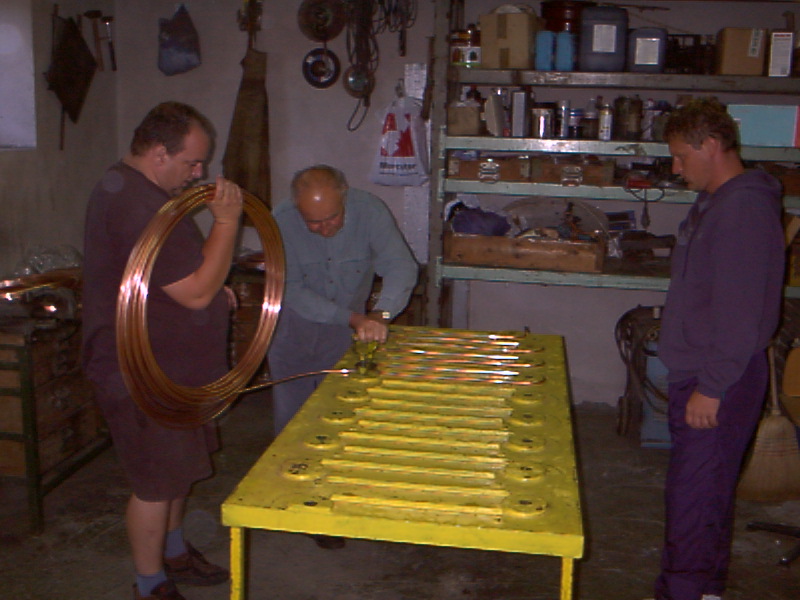
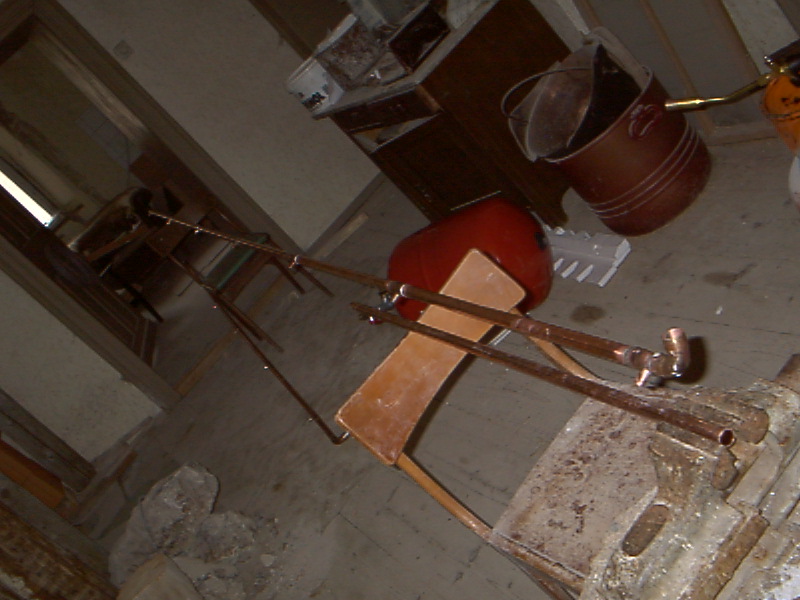
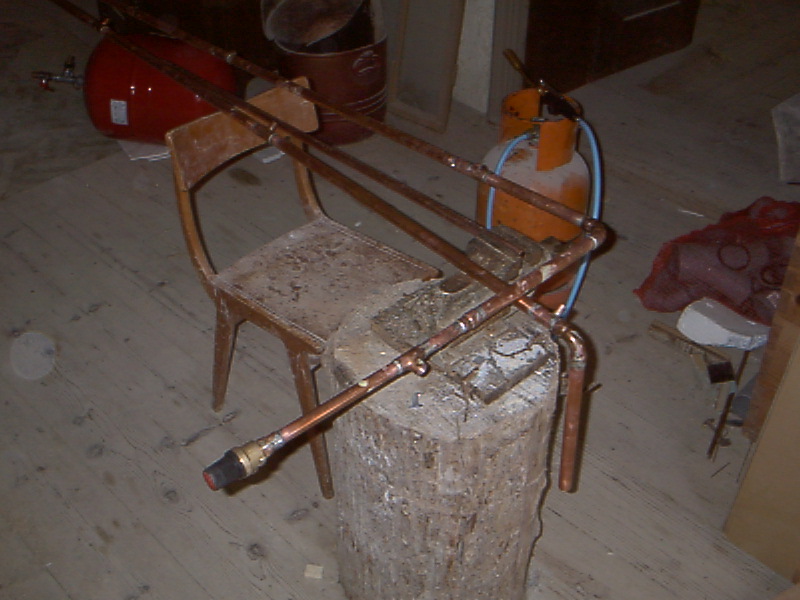
Pipe bending table

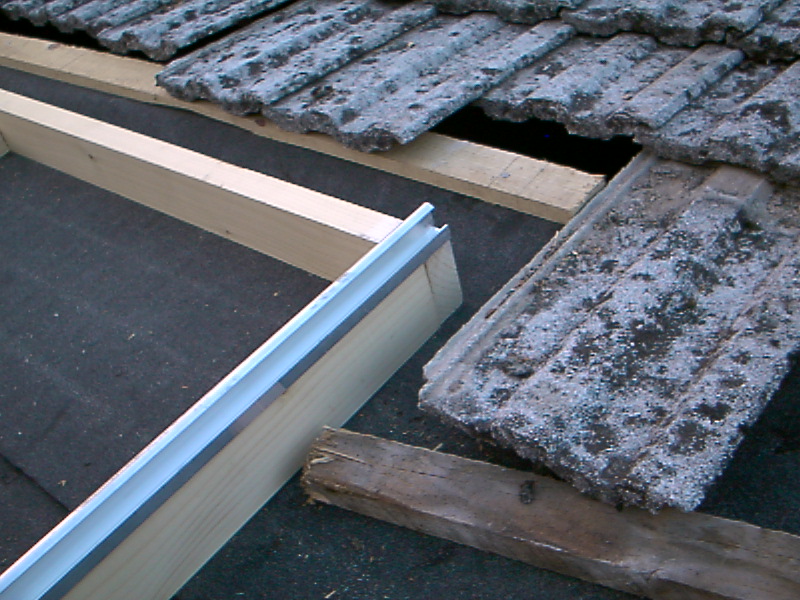
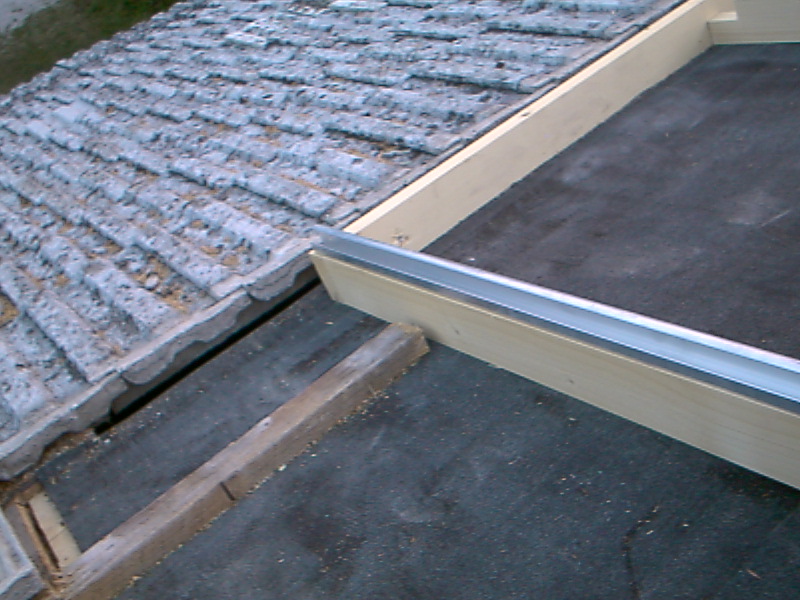
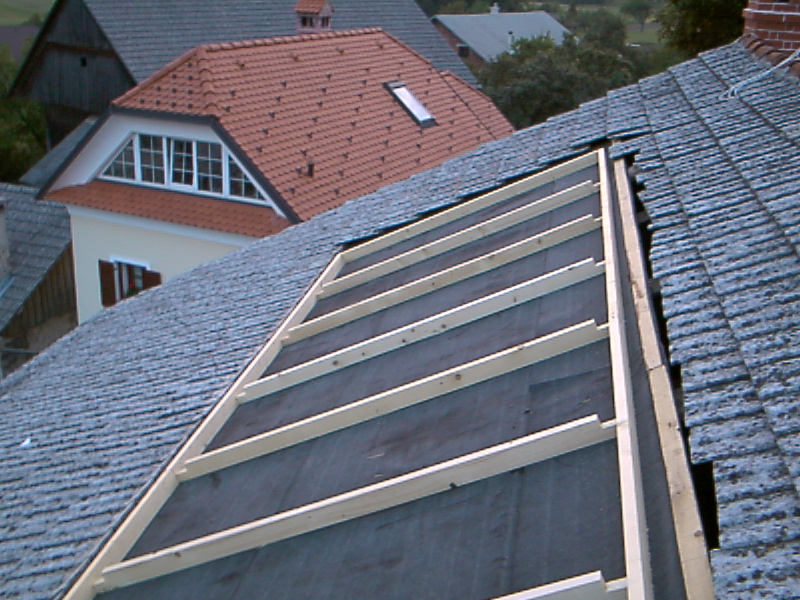
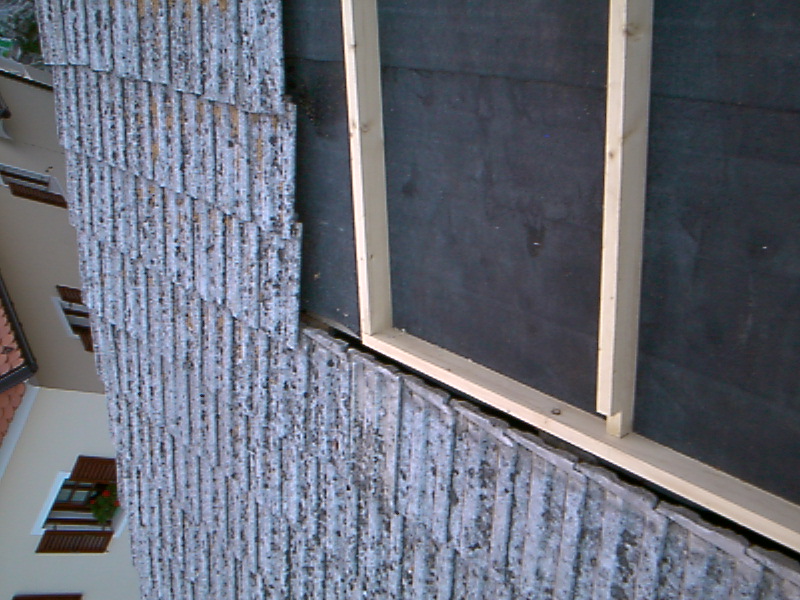
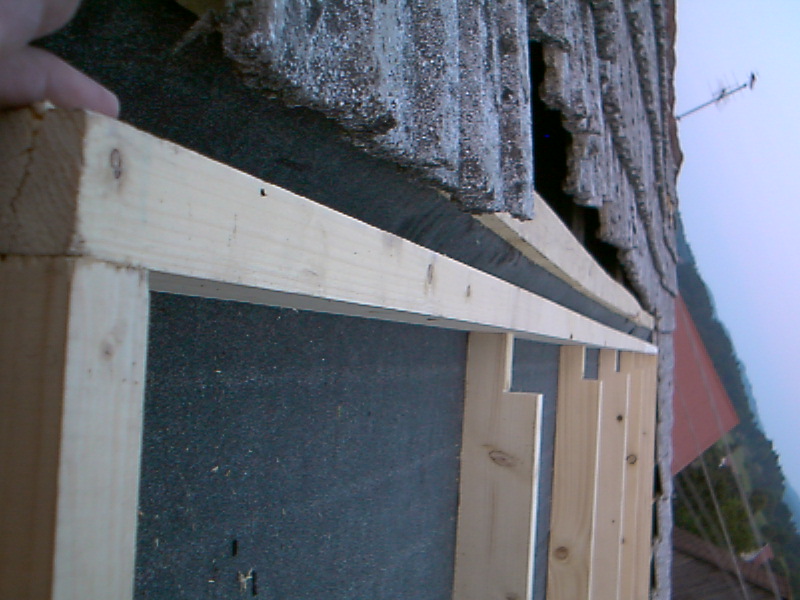
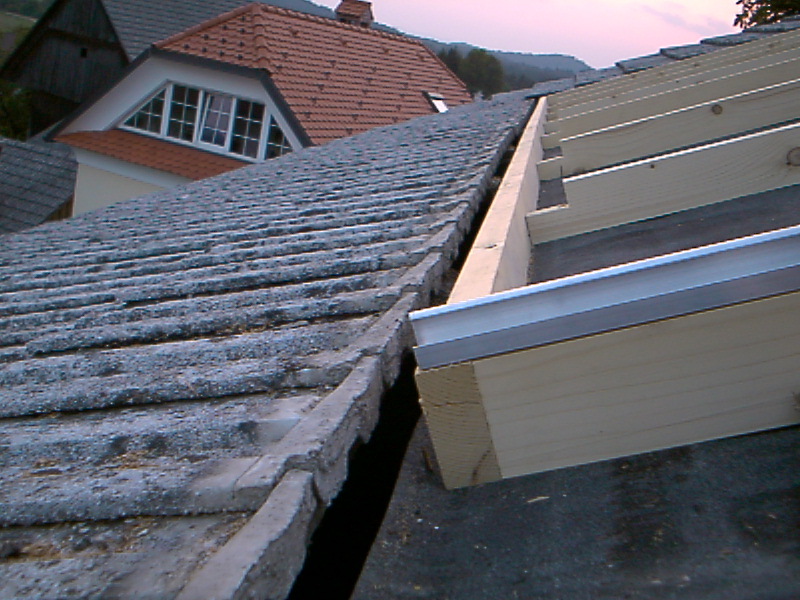
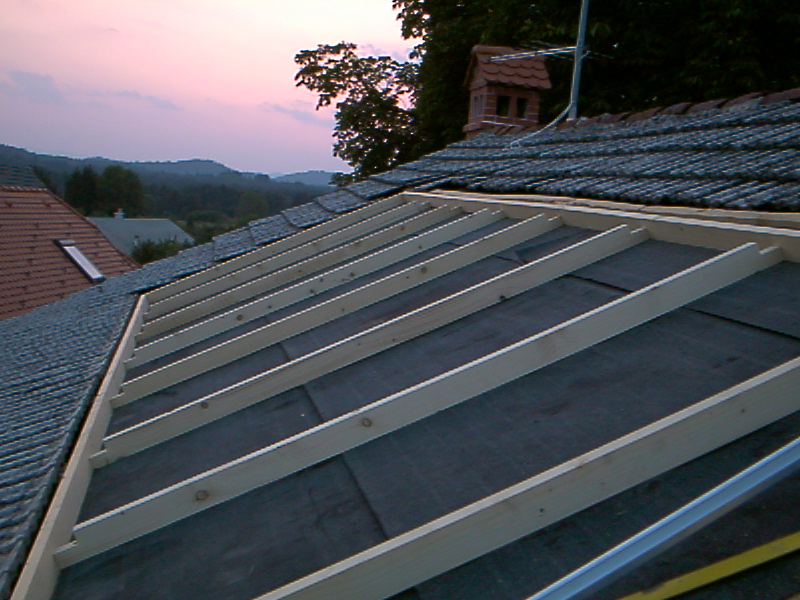
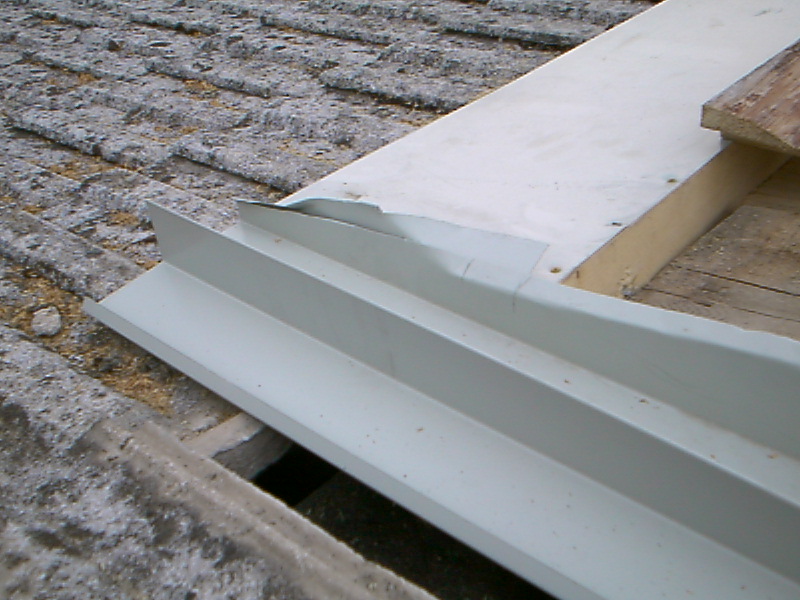
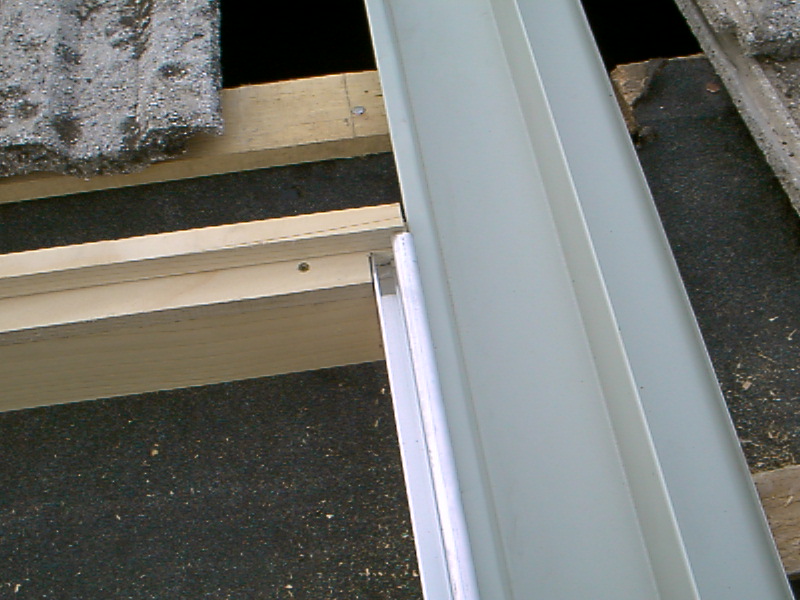
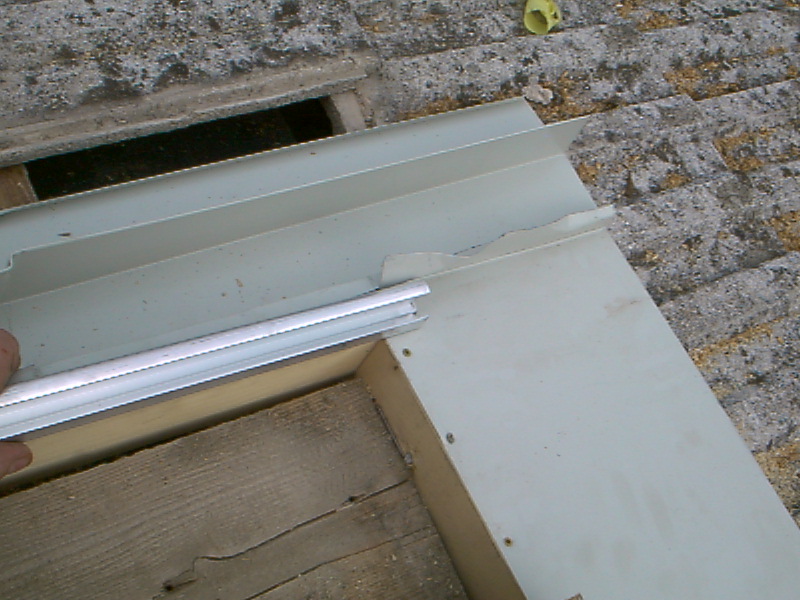
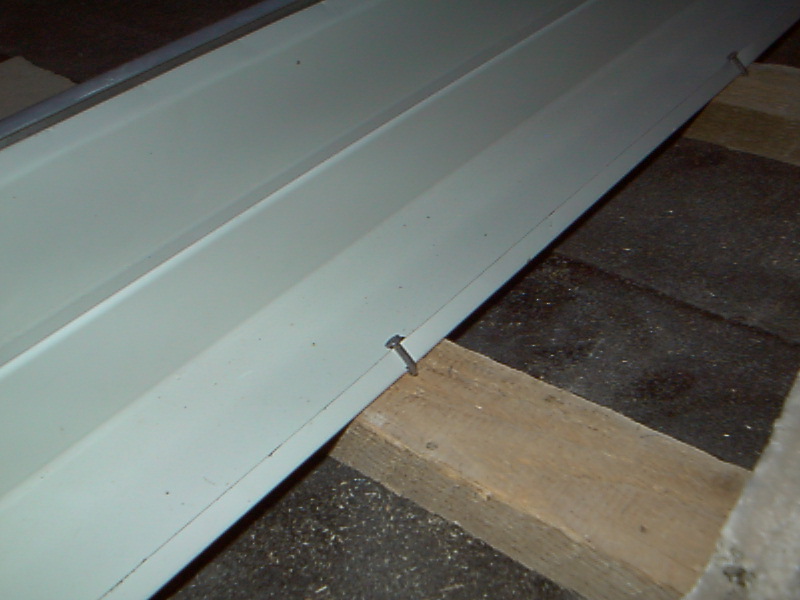
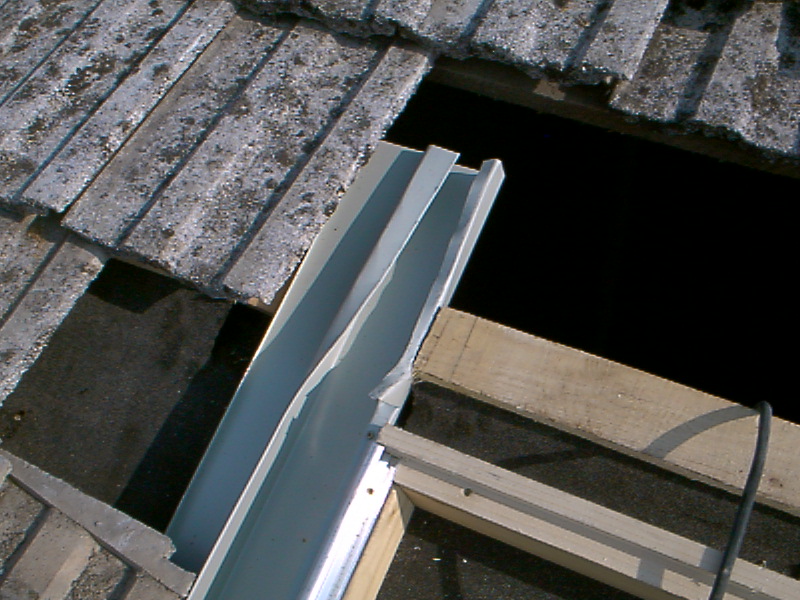
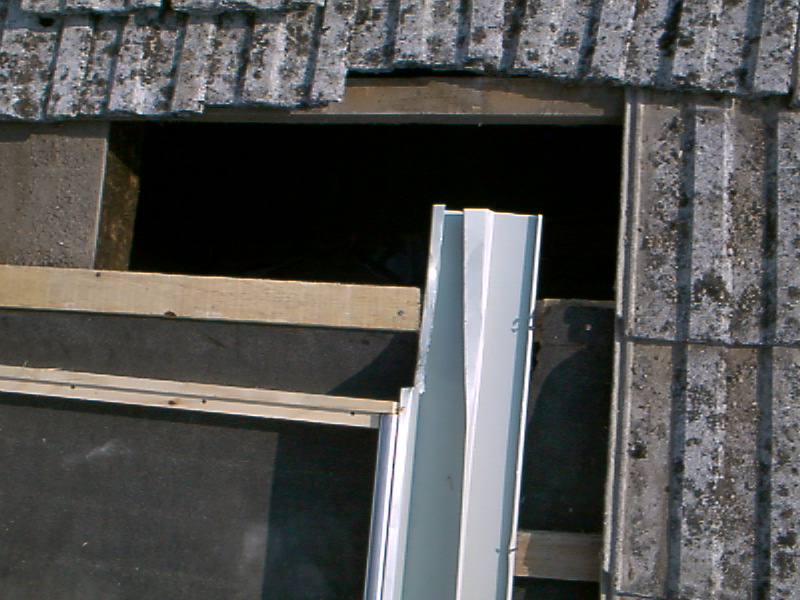
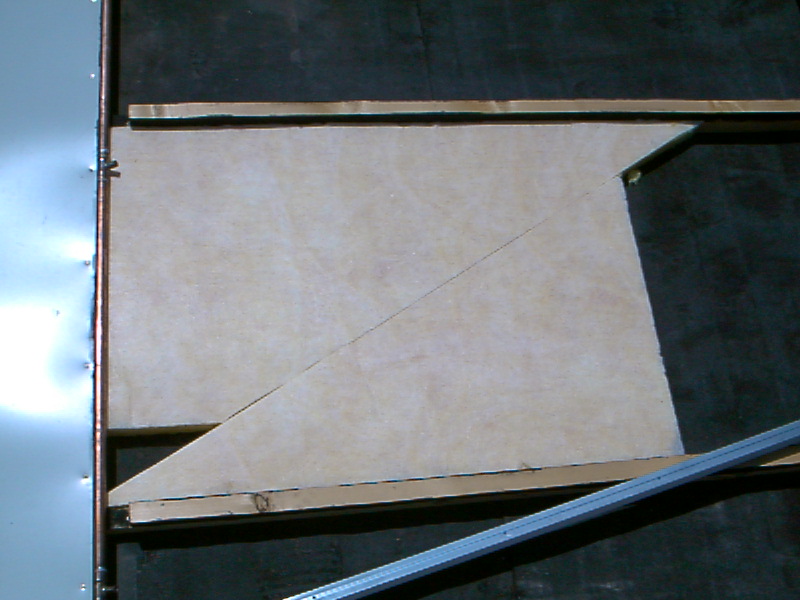
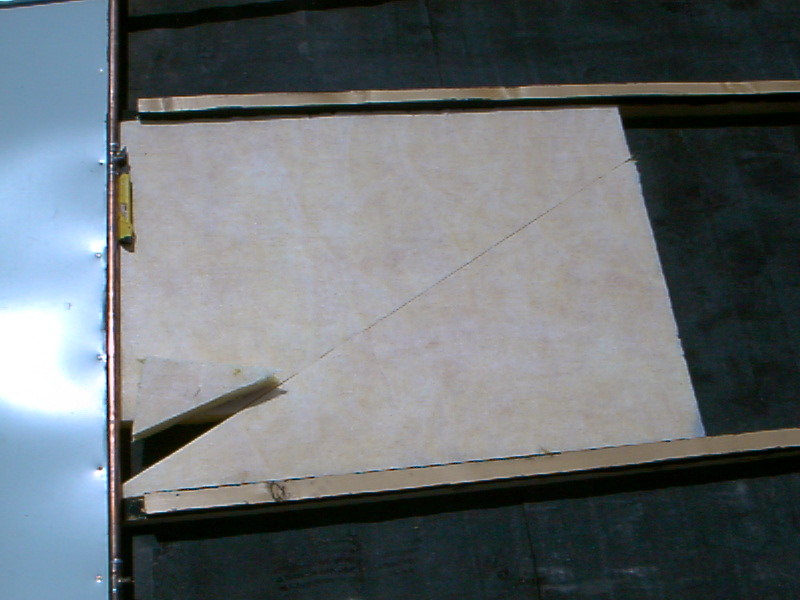
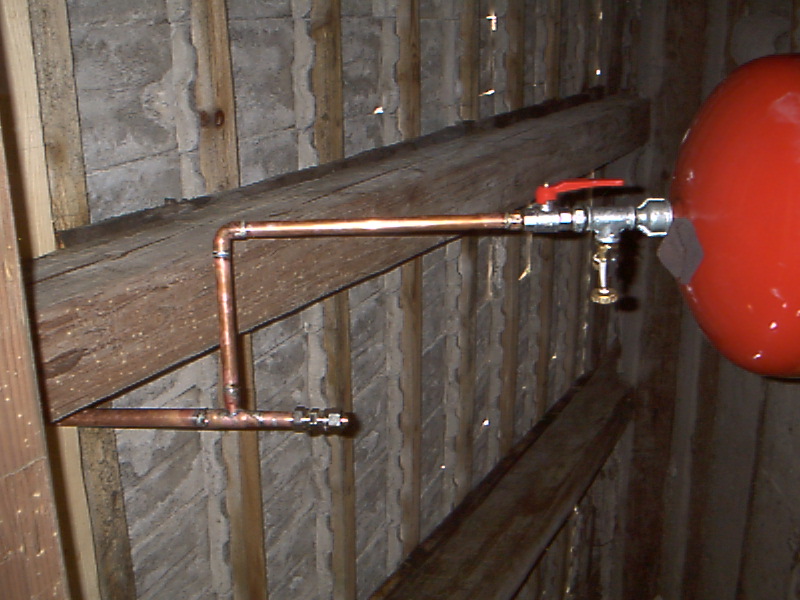
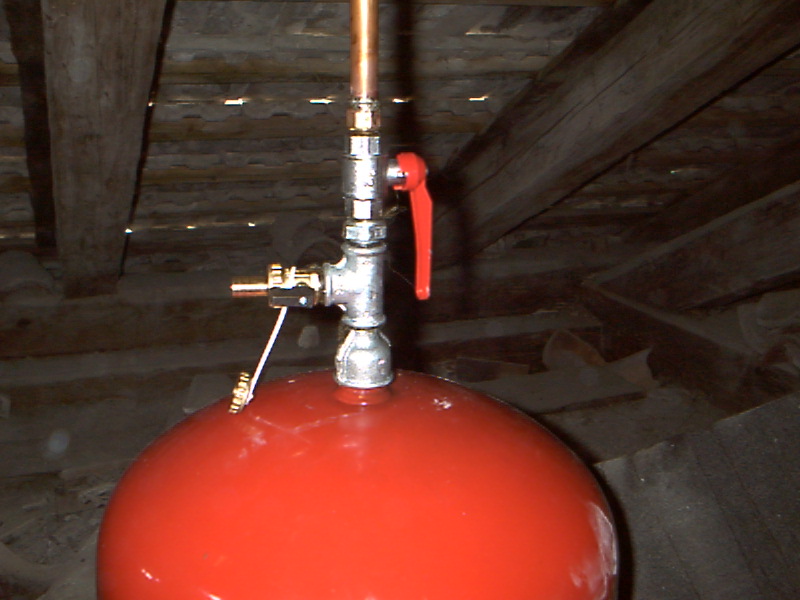
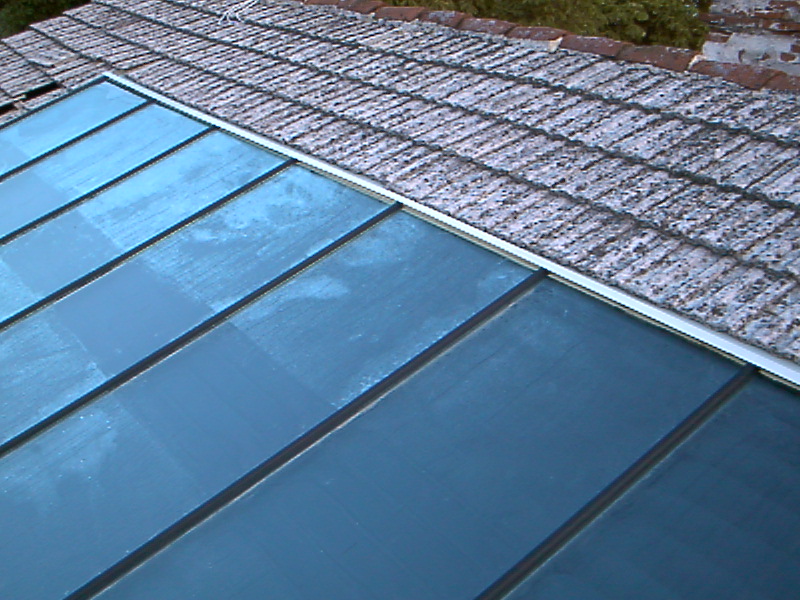
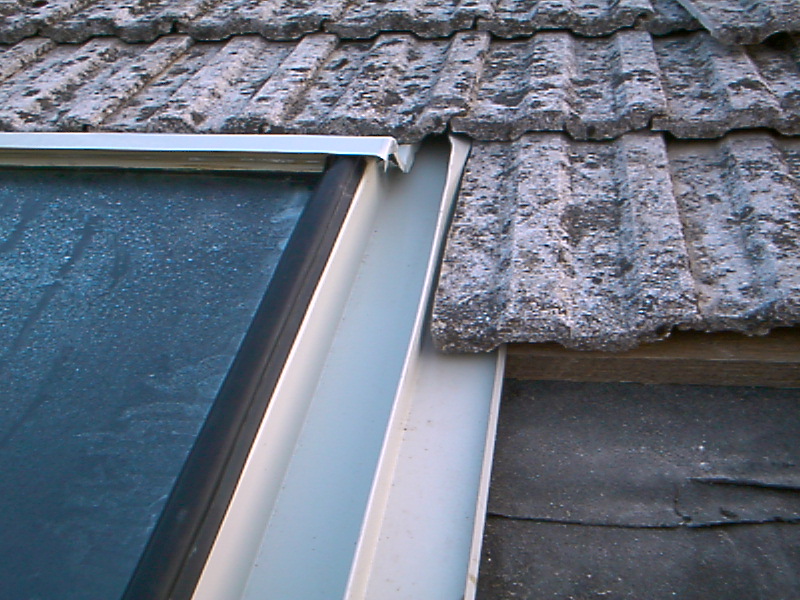
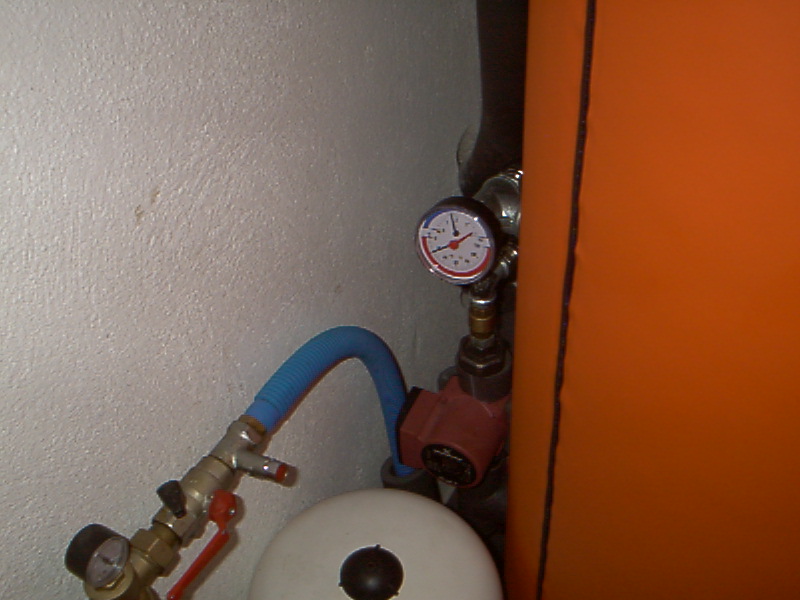
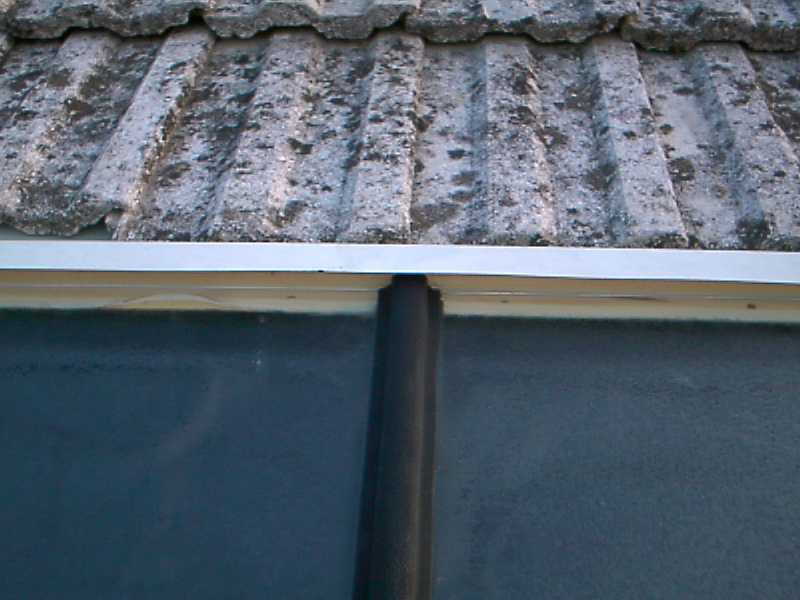
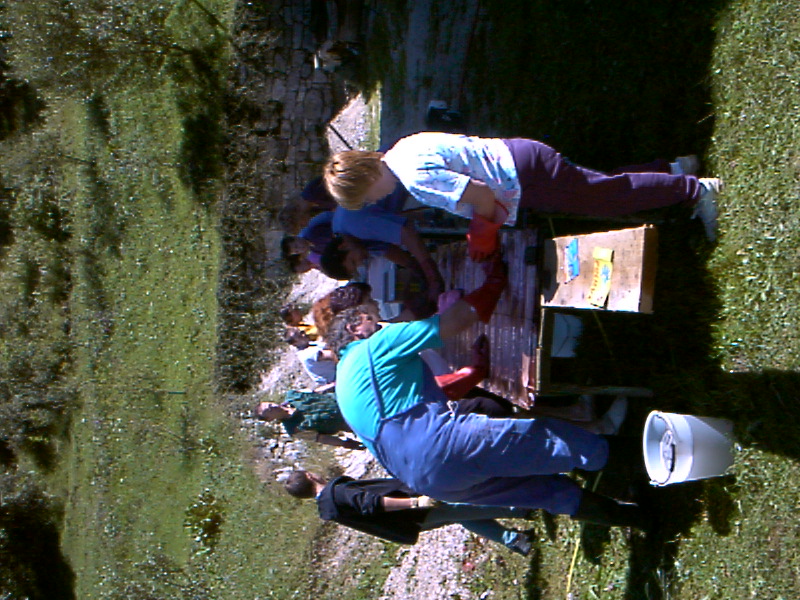
Collector as asbestos protector
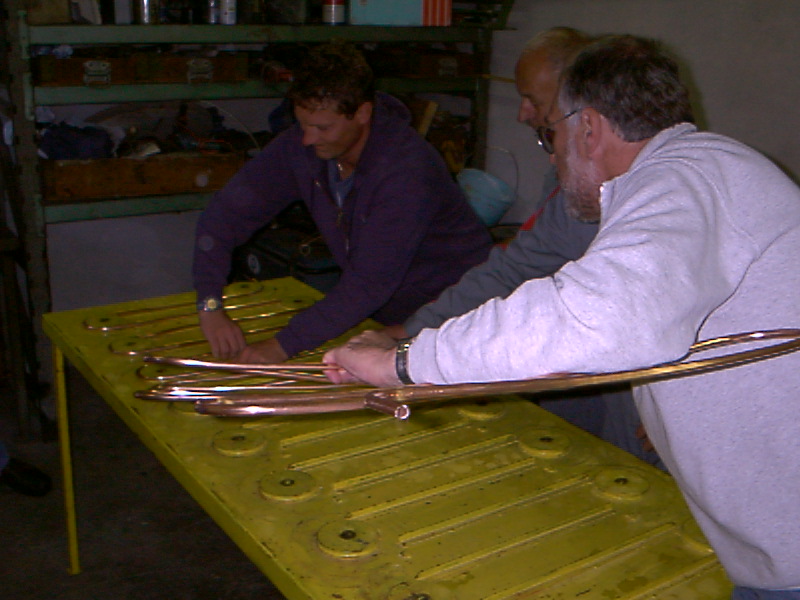
Serpentine bending procedure
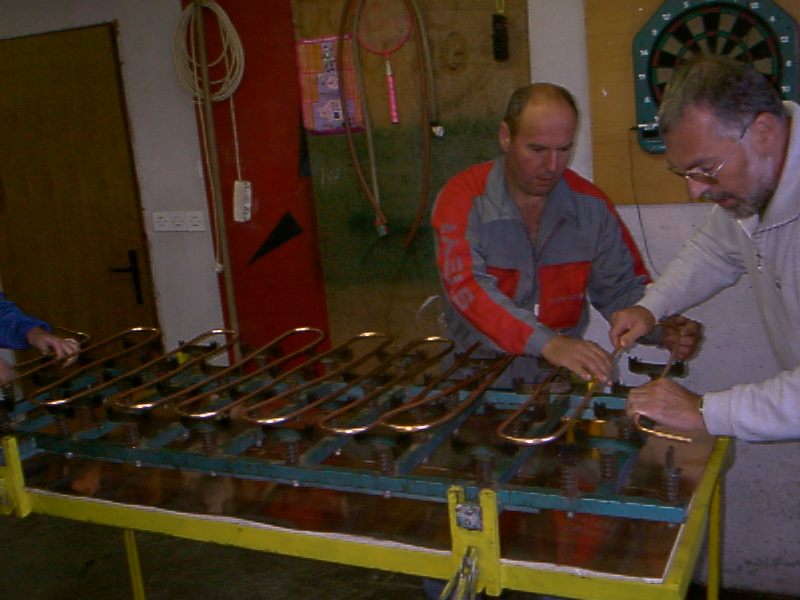
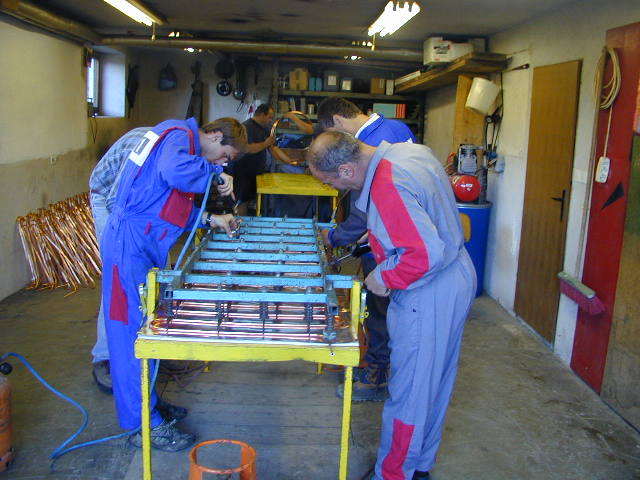
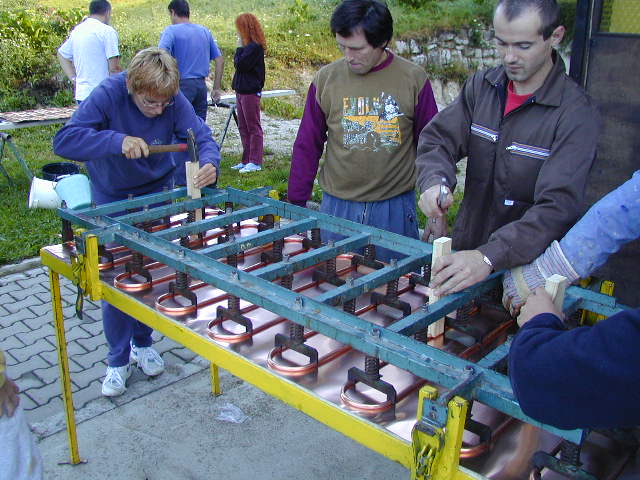
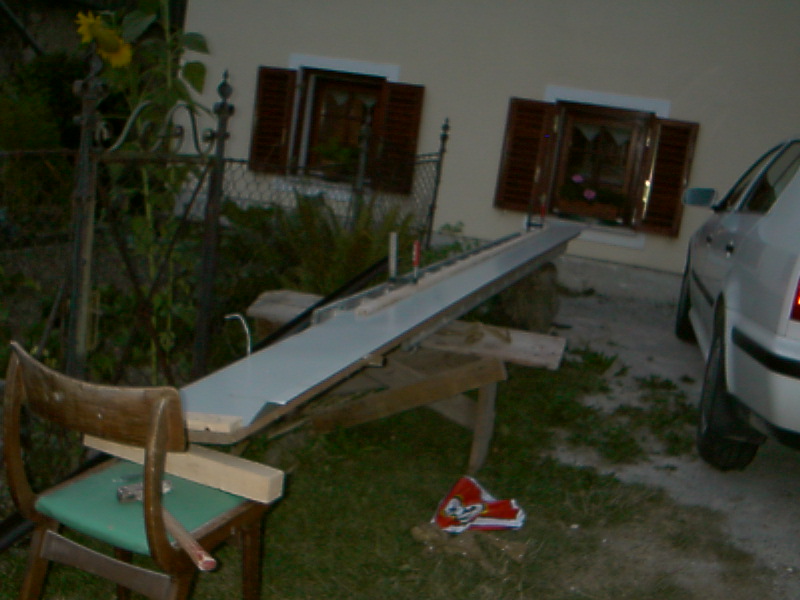
Mounting pipe on a welding table
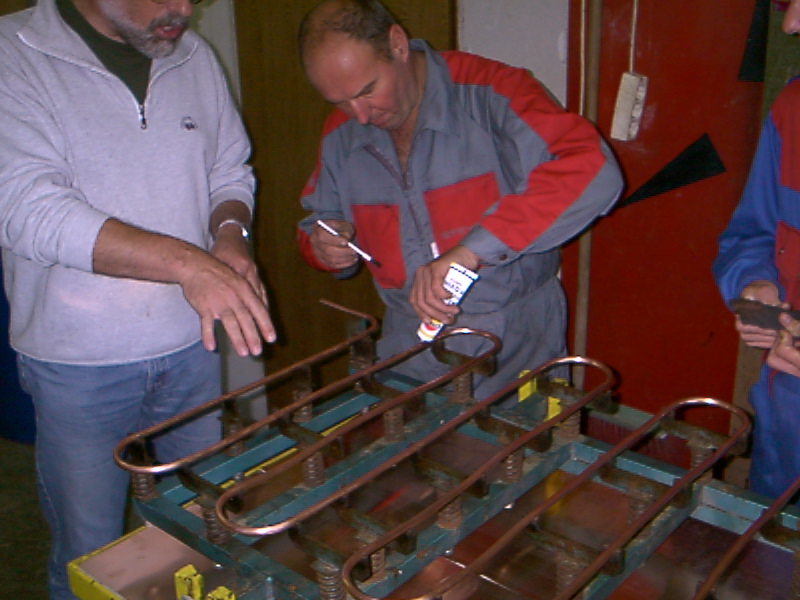
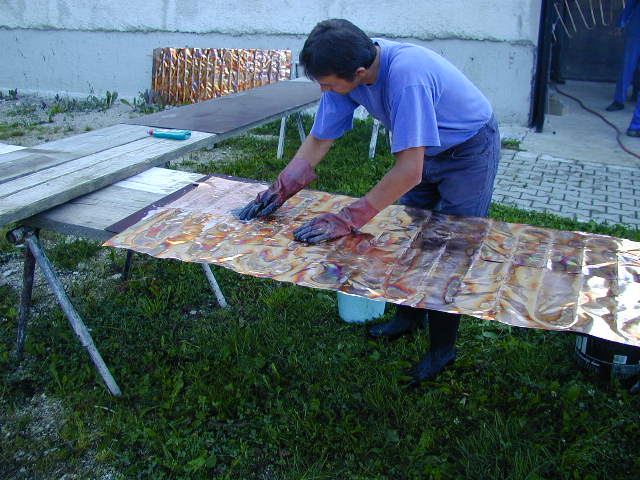
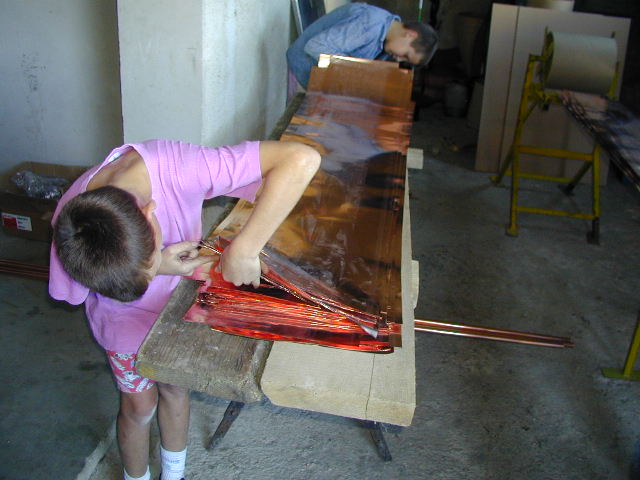
Paste is applied after some pipe cleaning
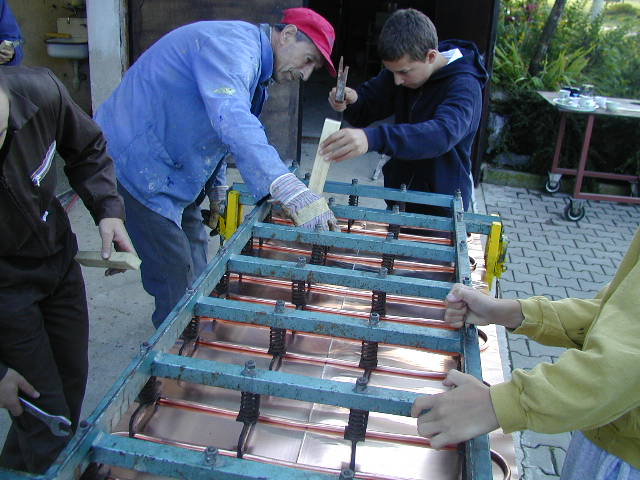
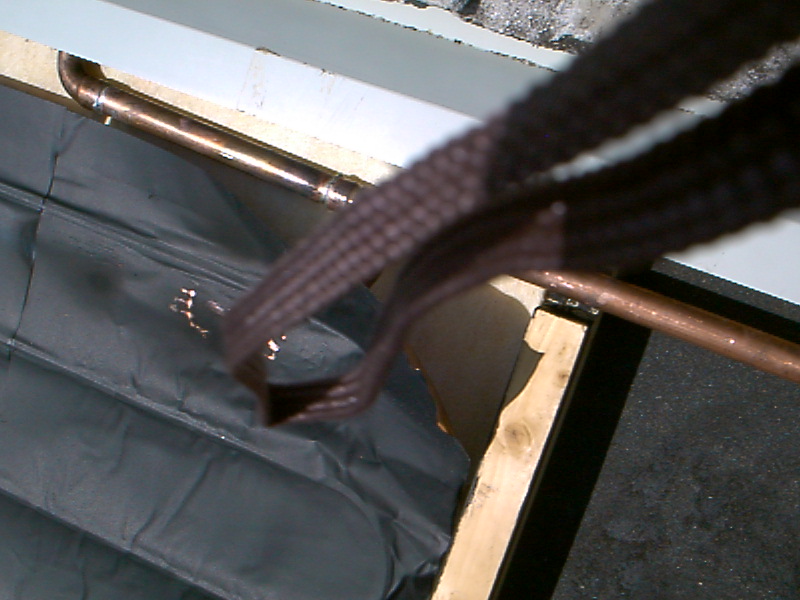
Pipe is pressed on a plate with strings
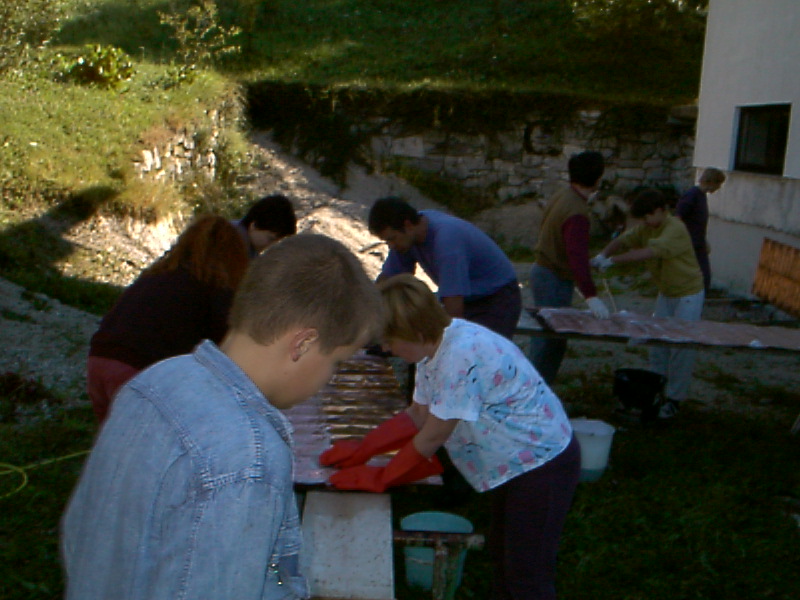
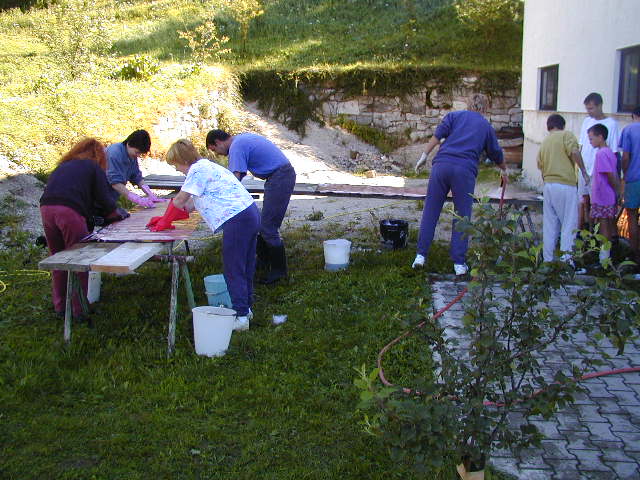
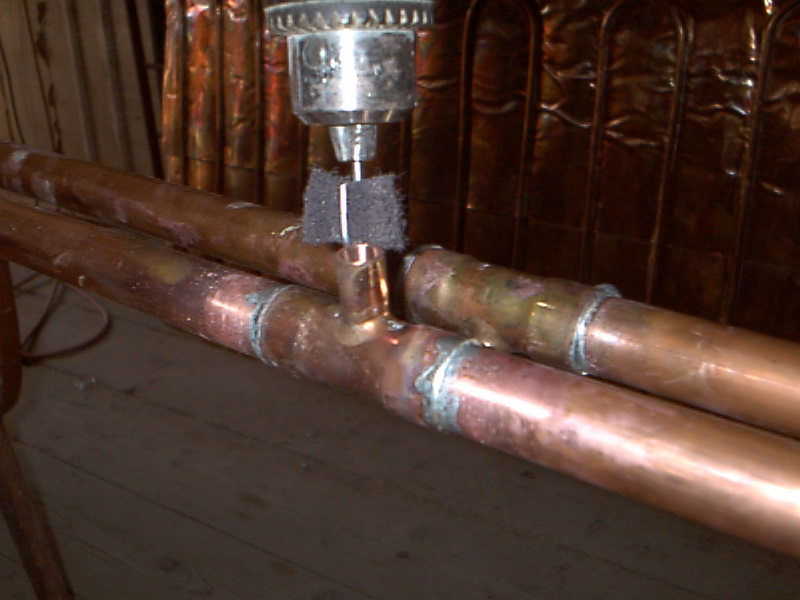
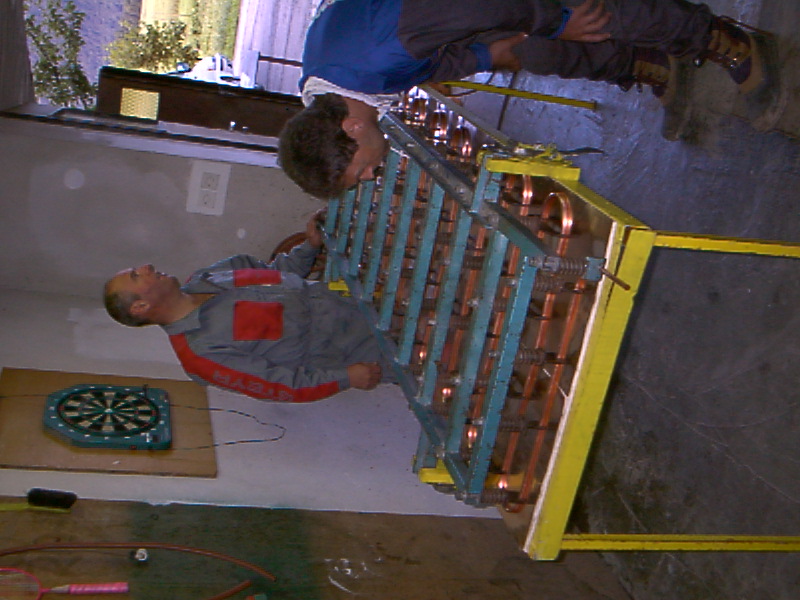
Cleaning cell

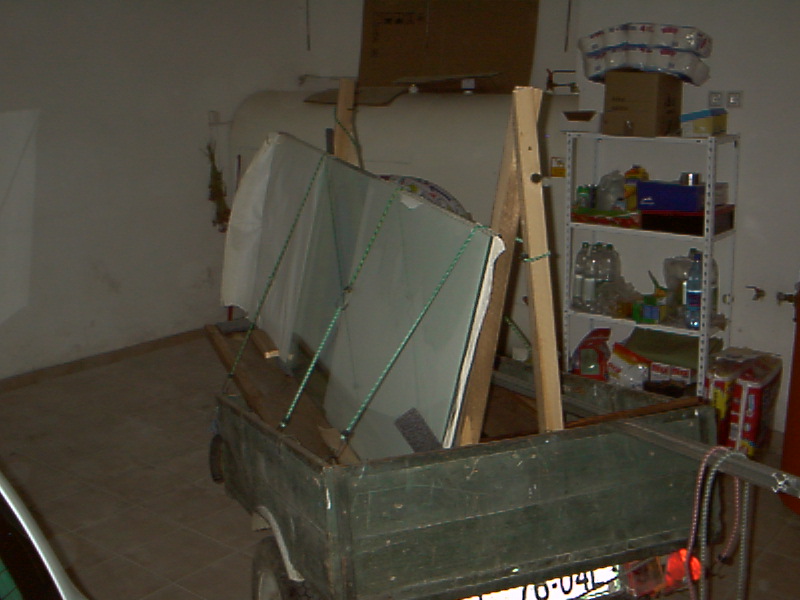
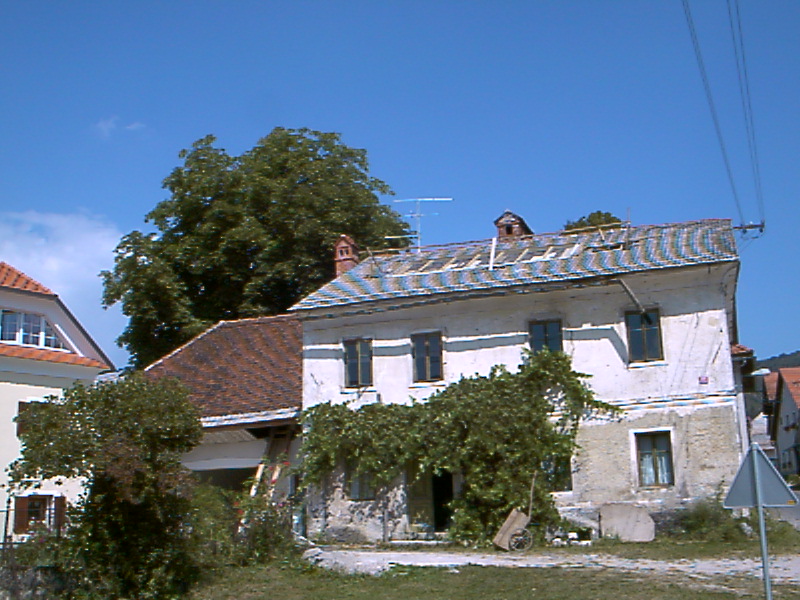
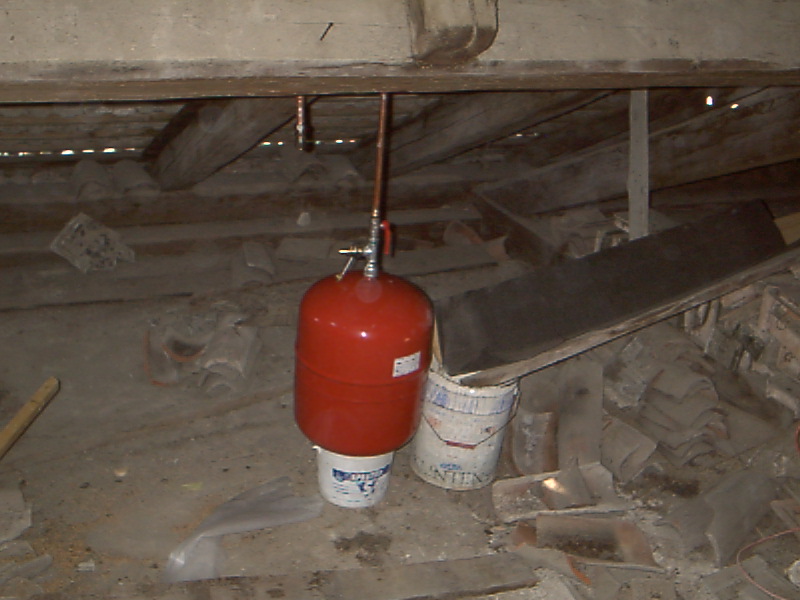
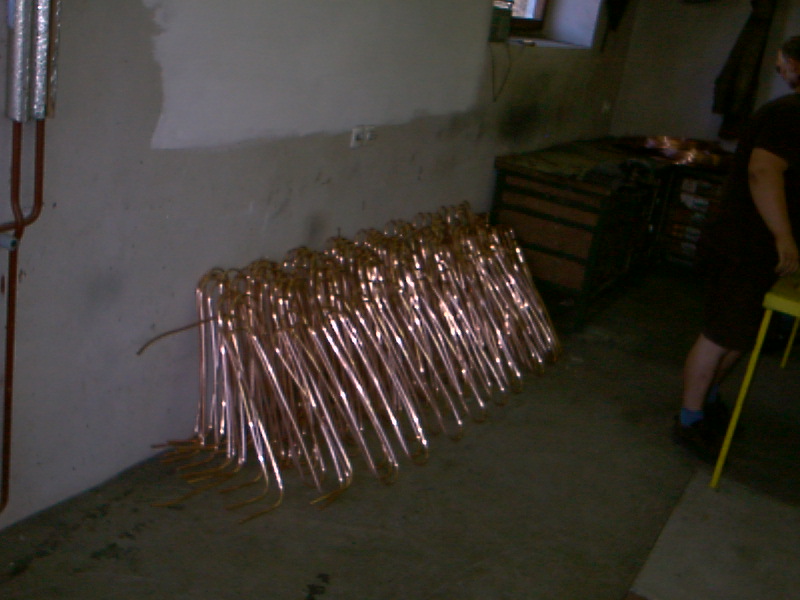
Intermediate store (nearly empty)
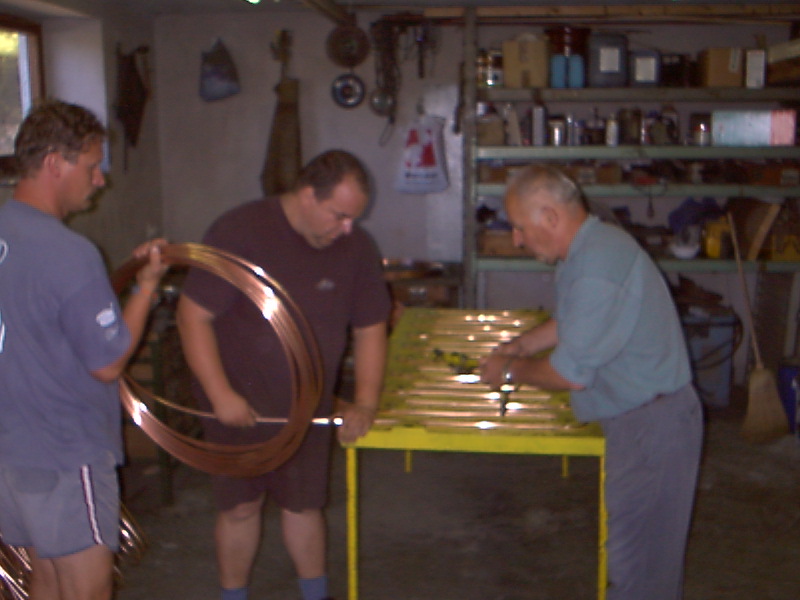
You need experienced guys for bending.
But not to fast
Cleaning is really a brain killer

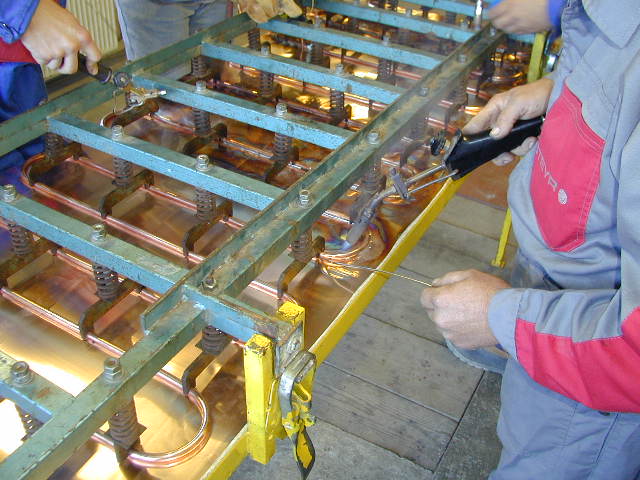
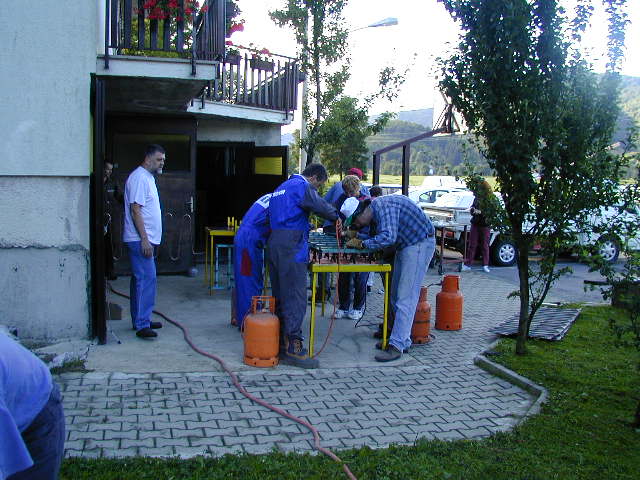
Welding preparation is a bottleneck
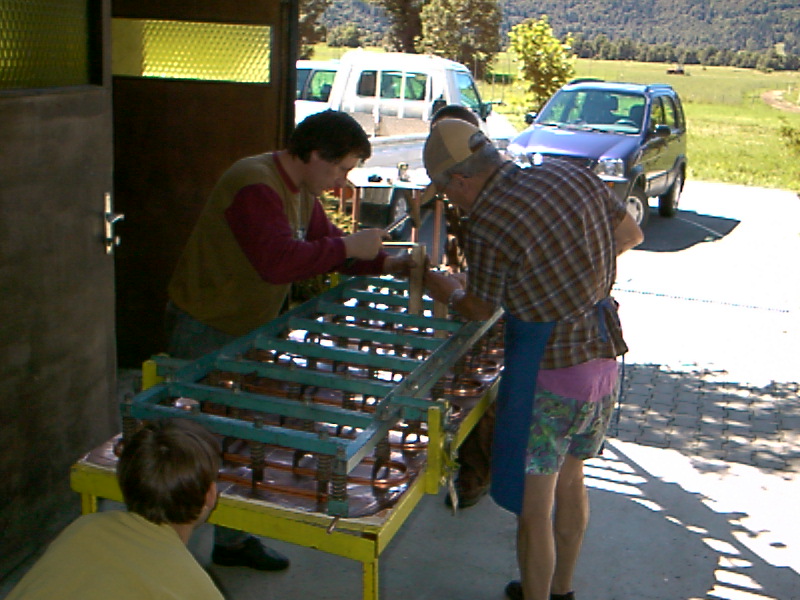
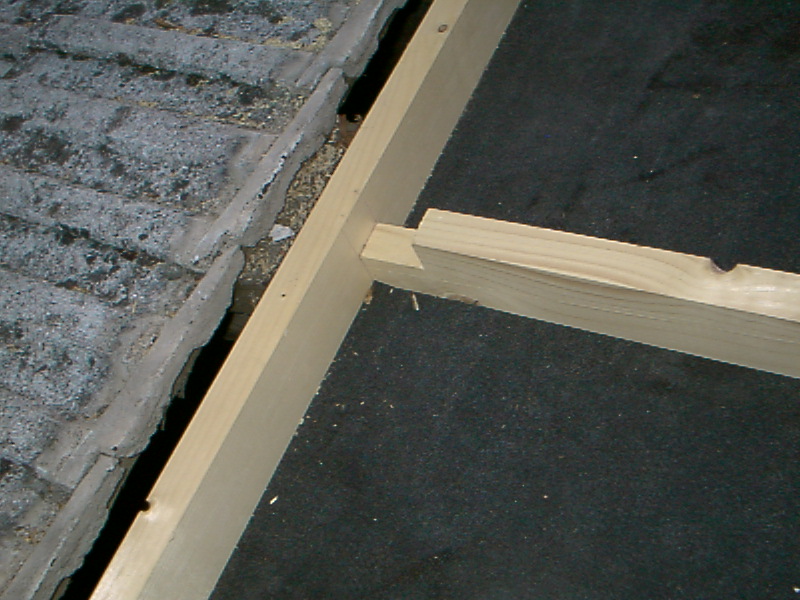
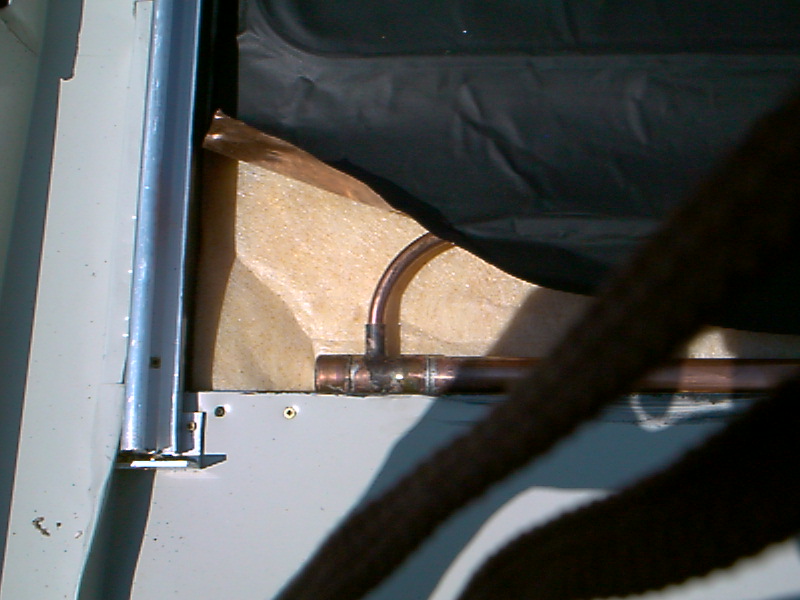
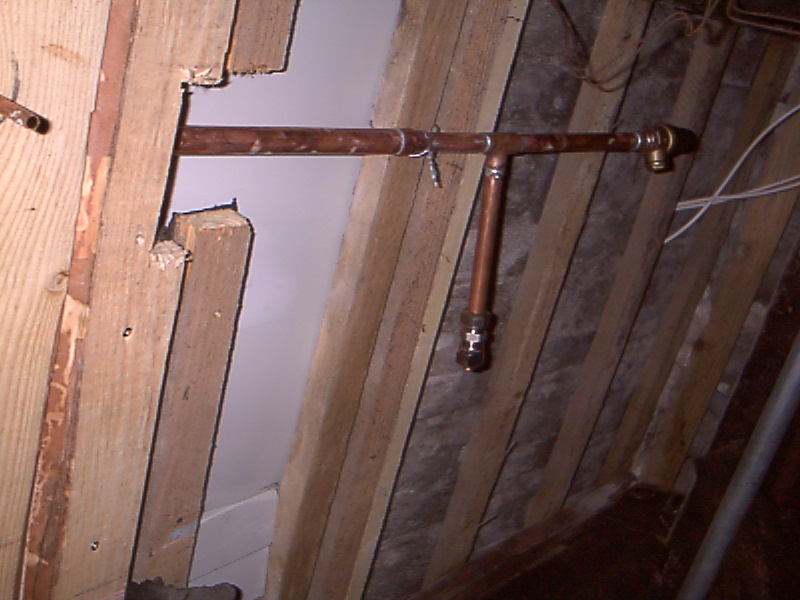
Pipe must be tight to a plate
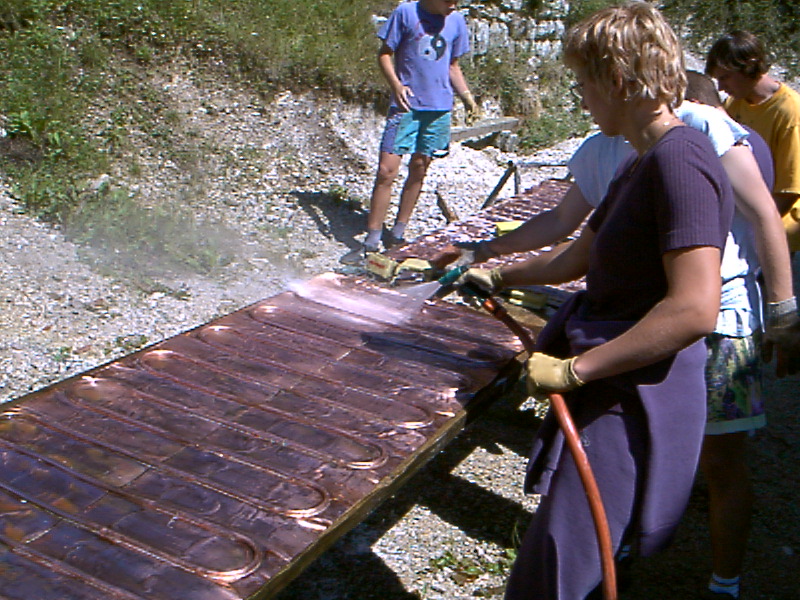
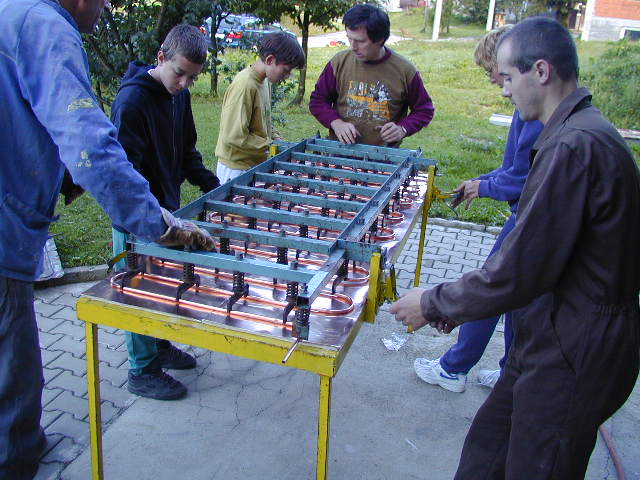
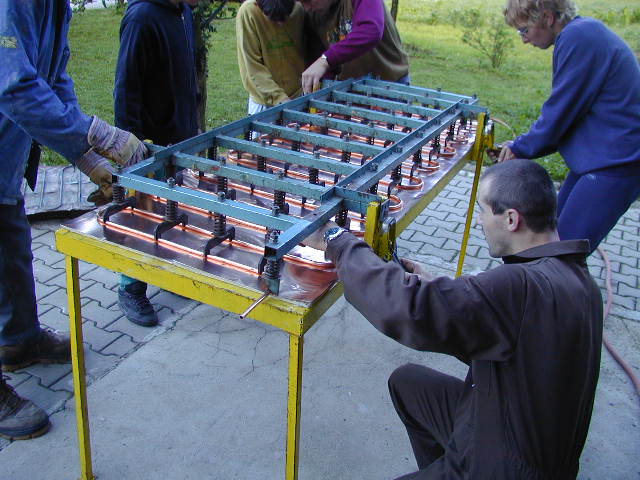
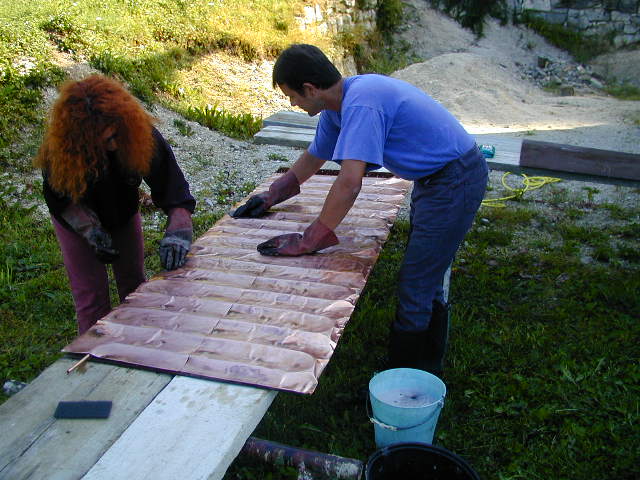
Final splash before drying
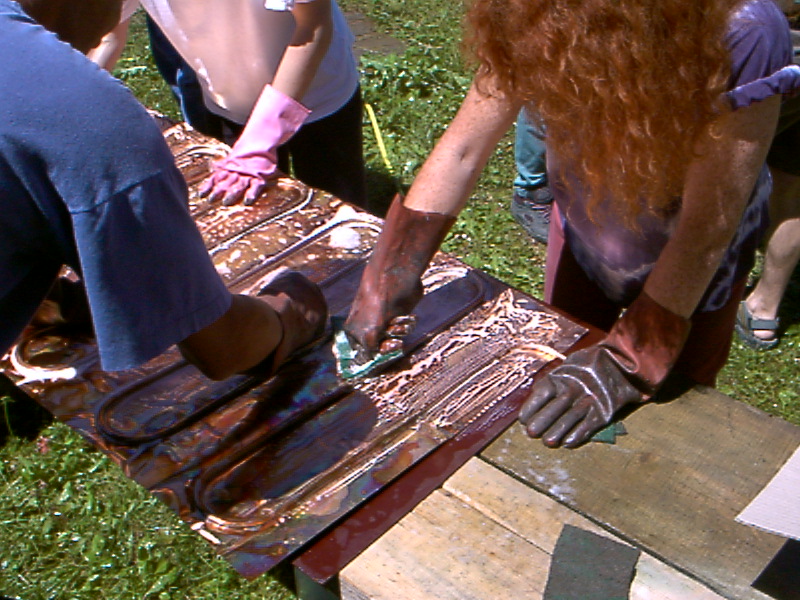
Welding paste must be removed
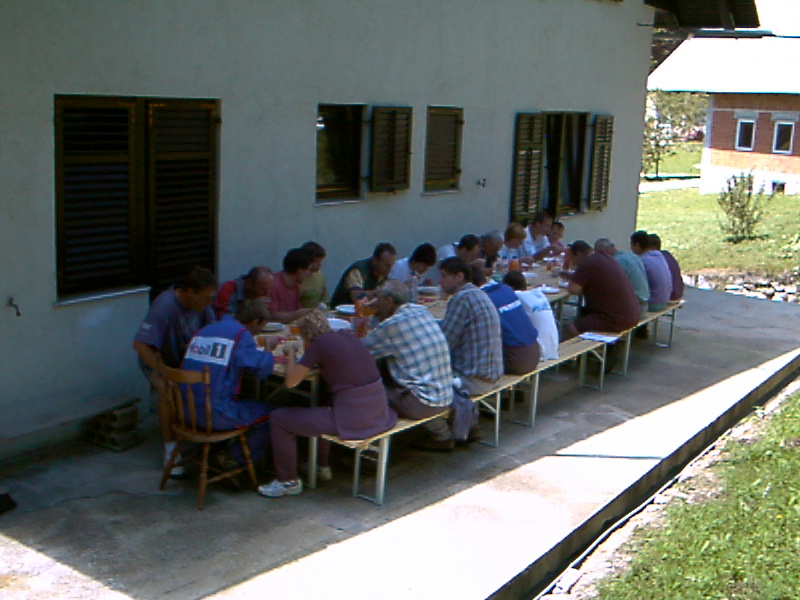
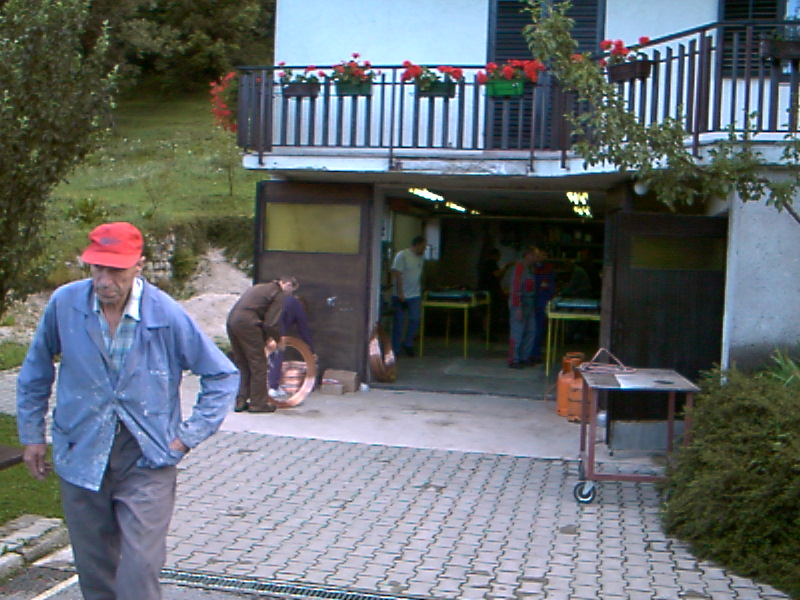
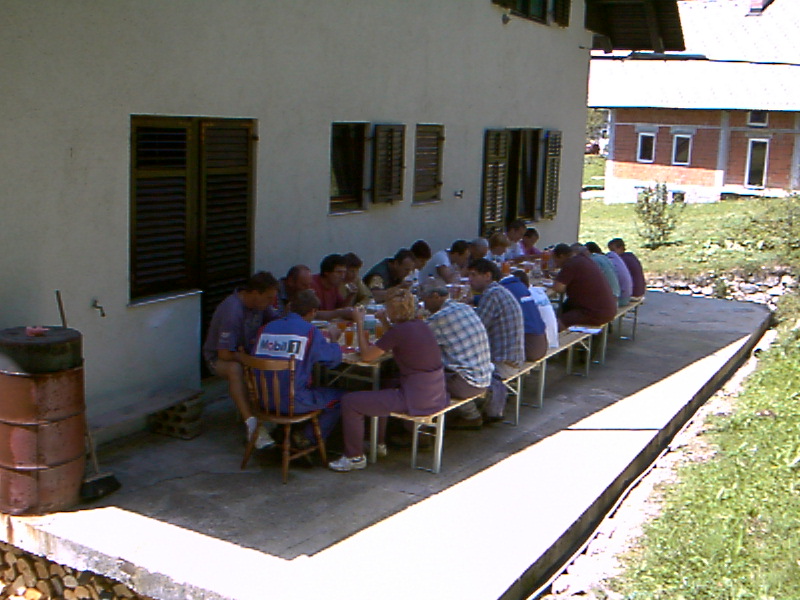
Lunch 1200
Lunch 1230
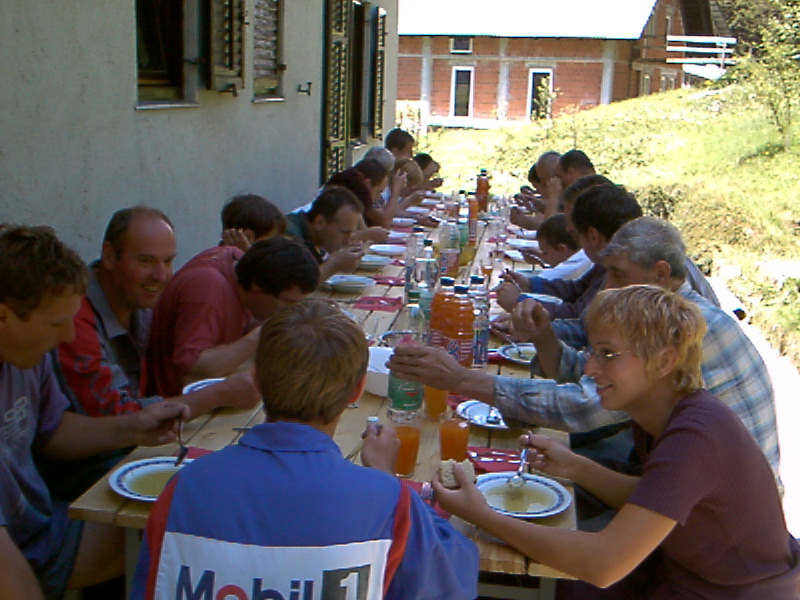
Lunch

Finished with welding at 2100